How to Install and Configure the Third Maintenance Release for SAS 9.2
When installing the
third maintenance release for SAS 9.2 in a multiple machine deployment,
you must apply the maintenance release in a specific order. For more
information, see “Installation
Order Rules for Multiple Machine Deployments” in the SAS Intelligence Platform: Installation
and Configuration Guide.
Note: If you are installing in
a z/OS environment, see the installation and maintenance instructions
in Installation Note 36008 at http://support.sas.com/kb/36/008.html.
Note: To specify a different version
of the Java Runtime Environment (JRE) that you want to use with the
SAS Java applications, see “Specify
a Different JRE” in the SAS
Intelligence Platform: Installation and Configuration Guide.
-
If your deployment includes a Web application server, undeploy all of your SAS Web applications. For more information, see Undeploying SAS Web Applications and Stopping the Web Application Servers.
-
Terminate all active SAS sessions, daemons, spawners, and servers. It is important to stop the SAS servers in the inverse order that they were started. For more information, see “Overview of Server Operation” in the SAS Intelligence Platform: System Administration Guide.
-
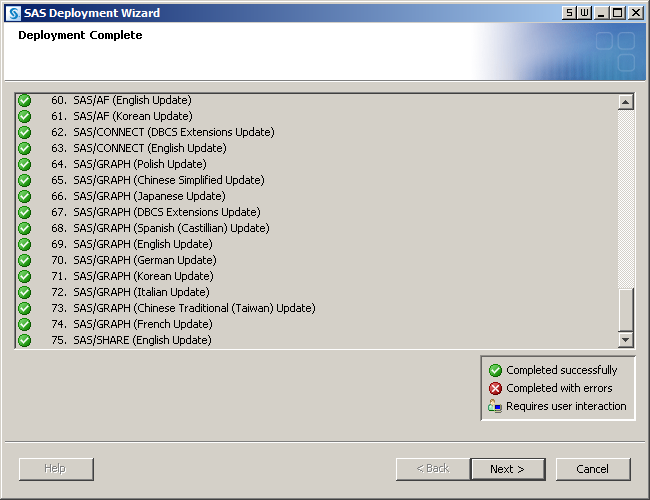
If any product updates are required, then the SAS Deployment Wizard goes into update mode. In the Select Deployment Step, select Install SAS Software to install those product updates on that machine.Updates that are installed in a maintenance release apply only to software that is already installed at your site. No new software is installed during a maintenance installation. If your software order includes new products for your site, see Adding a New Product after Applying a Maintenance Release.
-
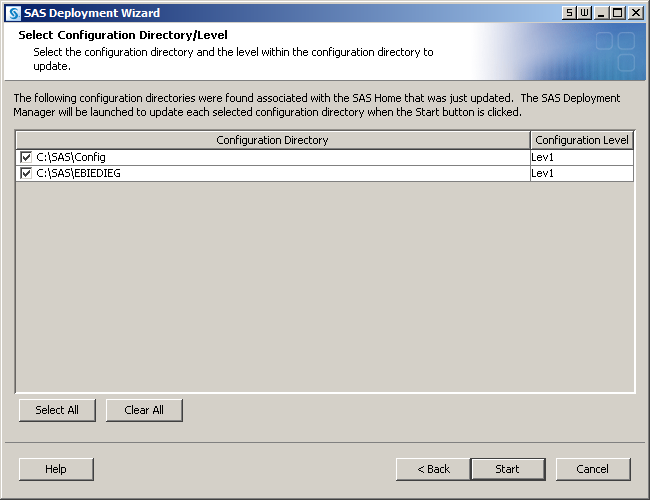
In the Select Configuration Directory/Level step of the SAS Deployment Wizard, select the configuration directories that you want to update, and then click Start.Note: If you click Cancel, then you will have installed but not configured your software updates. You must configure the updated SAS products before you can run the maintenance release. To complete these configuration steps at a later time, see “Configure Updated or Upgraded SAS Products” in the SAS Intelligence Platform: Installation and Configuration Guide.
-
In the Specify Connection Information panel of the SAS Deployment Manager, enter the user ID and password of an unrestricted administrative user.Note: Before performing any configuration updates, the SAS Deployment Manager starts the SAS Metadata Server in Windows environments. If this server is not running, then the following message appears in the SAS Deployment Manager:
A SAS Metadata Server is not currently running on the Port.
To continue the configuration steps, restart the SAS Metadata Server manually.If you are running in a UNIX environment, you must manually restart the SAS Metadata Server. At a UNIX prompt, navigate to the directory where the SAS Metadata Server is configured. Type./MetadataServer.sh start. -
Use the SAS Deployment Manager to configure your environment. The panels that appear depend on your deployment. You must complete each panel. When prompted for passwords for database IDs, you must use the same passwords that you used to install SAS 9.2.During the configuration process, SAS automatically starts your SAS servers, configures your Web application servers, and rebuilds and redeploys your SAS Web applications.Note: Any time you configure your deployment, you must also configure your Web application server, even if your configuration does not involve the SAS middle tier. If you manually configured your Web application server in your initial deployment, then configure your Web application server again manually. Complete the steps in the UpdateInstructions.html file to correctly apply the third maintenance release and to redeploy the SAS Web applications. If the SAS Deployment Wizard automatically configured your Web application server, then choose the automatic configuration option.When the configuration is complete, the Deployment Summary opens. You need this file in step 11. For more information, see About the Deployment Summary.
-
Complete any necessary configuration steps for your Web application server. For more information, see Additional Configuration Steps for Your Web Application Servers.
-
Review the list of products in the Update Summary section of the Deployment Summary. For each product that was updated, determine whether there are any additional configuration steps that you need to complete. For more information, see Product-Specific Details and Post-Configuration Requirements.
-
To validate the changes to your Web application servers and SAS Web applications, review the validation sections in your Instructions.html files. For more information, see About the Instructions.html and UpdateInstructions.html Files.