Using SAS Studio
About Using SAS Studio
When you sign on to
SAS Studio, the main SAS Studio window appears with a blank program
window so that you can start programming immediately. You also have
access to all six sections of the navigation pane.
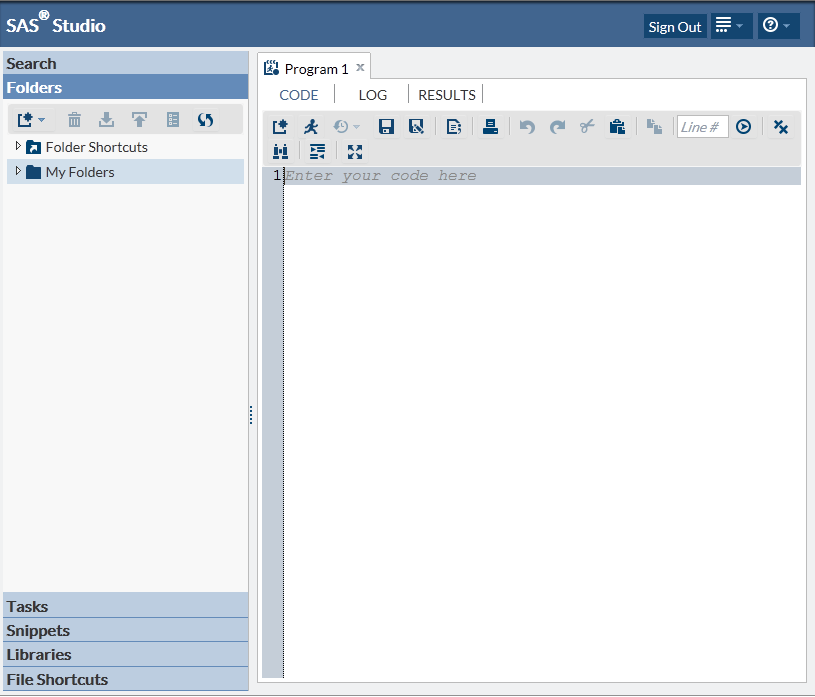
The main window of SAS
Studio consists of a navigation pane on the left and a work area on
the right. The navigation pane provides access to the search feature,
your folder shortcuts and folders, your tasks and snippets, the libraries
that you have access to, and your file shortcuts. The Folders section
is displayed by default.
Using the Navigation Pane
Using the Search Section
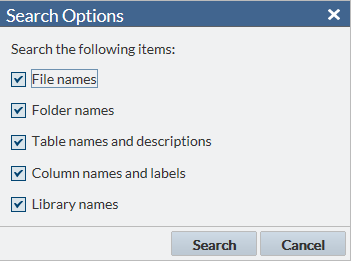
The Search section of
the navigation pane enables you to search the directory that is specified
by the Authentication Provider for filenames, folder names, table
names and descriptions, column names and labels, and library names.
You can open items directly from your search results by double-clicking
them or dragging them to the work area.

Working with Folders
The Folders section
of the navigation pane enables you to access your folders, create
folder shortcuts, download and upload files, and create a new SAS
program. You can expand and collapse folders, and you can open items
in the folders, such as a SAS program or table, by double-clicking
them or dragging them to the work area.
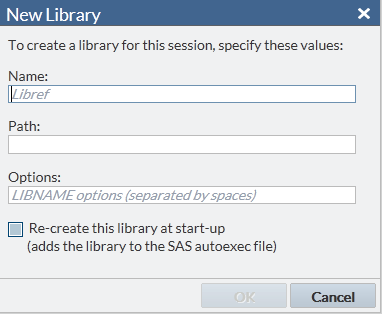
To create a new folder
shortcut, click  in the Folders section and select Folder
Shortcut. Enter the shortcut name and full path and click Save. The
new shortcut is added to the list of folder shortcuts.
in the Folders section and select Folder
Shortcut. Enter the shortcut name and full path and click Save. The
new shortcut is added to the list of folder shortcuts.
in the Folders section and select Folder
Shortcut. Enter the shortcut name and full path and click Save. The
new shortcut is added to the list of folder shortcuts.


Working with Tasks
The Tasks section of
the navigation pane enables you to access tasks in SAS Studio. Tasks
are based on SAS procedures and generate SAS code and formatted results
for you. SAS Studio is shipped with several predefined tasks that
you can run. You can also edit a copy of these predefined tasks, and
you can create your own new tasks.
To create a new task,
click  . SAS Studio creates a template in the work area that
you can use to create custom tasks for your site. Custom tasks can
be accessed from the My Tasks folder. For more information,
see Understanding Tasks in SAS Studio.
. SAS Studio creates a template in the work area that
you can use to create custom tasks for your site. Custom tasks can
be accessed from the My Tasks folder. For more information,
see Understanding Tasks in SAS Studio.
. SAS Studio creates a template in the work area that
you can use to create custom tasks for your site. Custom tasks can
be accessed from the My Tasks folder. For more information,
see Understanding Tasks in SAS Studio.To edit a task that
you have created, select the task from the My Tasks folder and click  . The XML code that is used to create the task is
opened in the work area. If you want to edit a predefined task, you
must first right-click the task and select Add to My Tasks. For more information,
see Edit a Predefined Task.
. The XML code that is used to create the task is
opened in the work area. If you want to edit a predefined task, you
must first right-click the task and select Add to My Tasks. For more information,
see Edit a Predefined Task.
. The XML code that is used to create the task is
opened in the work area. If you want to edit a predefined task, you
must first right-click the task and select Add to My Tasks. For more information,
see Edit a Predefined Task.Working with Snippets
The Snippets section
of the navigation pane enables you to access your code snippets. Code snippets are samples of
commonly used SAS code that you can insert into your SAS program.
SAS Studio is shipped with several predefined code snippets that you
can use. You can also edit a copy of these snippets and create your
own custom snippets. Your custom snippets can be accessed from the
My Snippets folder. For more information, see Working with Programs.
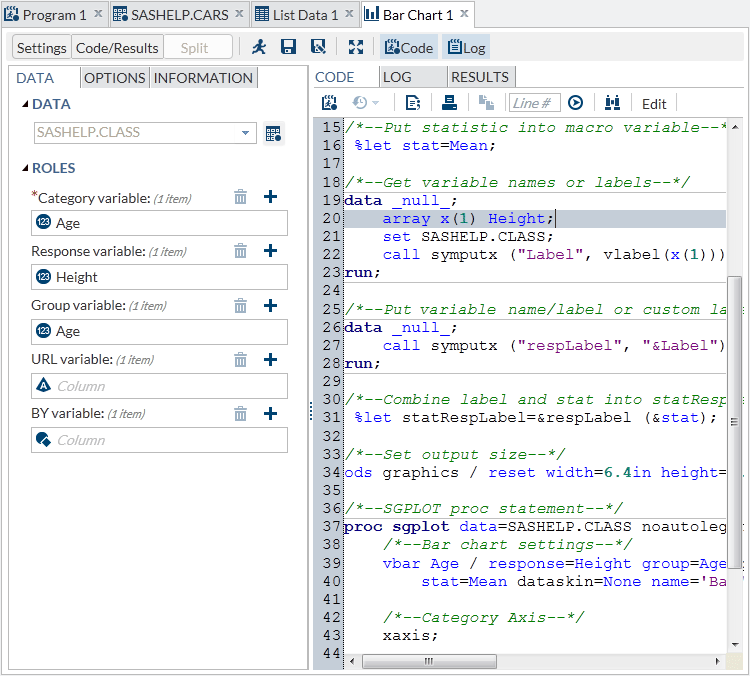
Working with Libraries
The Libraries section
of the navigation pane enables you to access all of your libraries
and the tables in the libraries. You can use the Libraries section
to expand a table and view the columns in that table. The icon in
front of the column name indicates the type.


You can drag tables
and columns from the Libraries section to a program, and SAS Studio
adds code for the dragged items to your program. For more information,
see Opening and Creating Programs.


Using File Shortcuts
File shortcuts enable
you to quickly access files that you specify. You can create a file
shortcut to a file on your SAS server or via a URL.

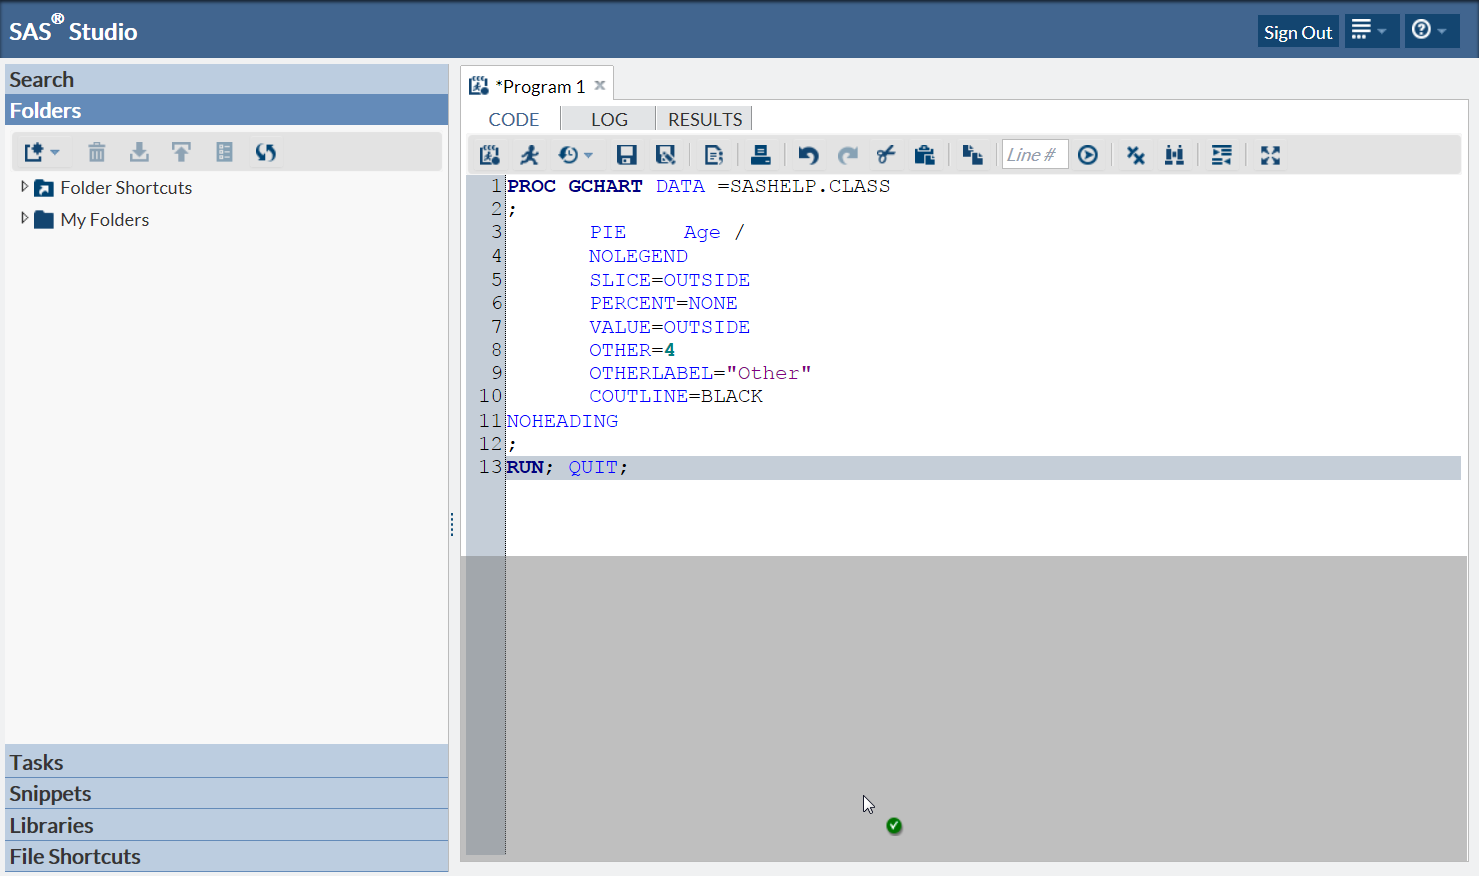
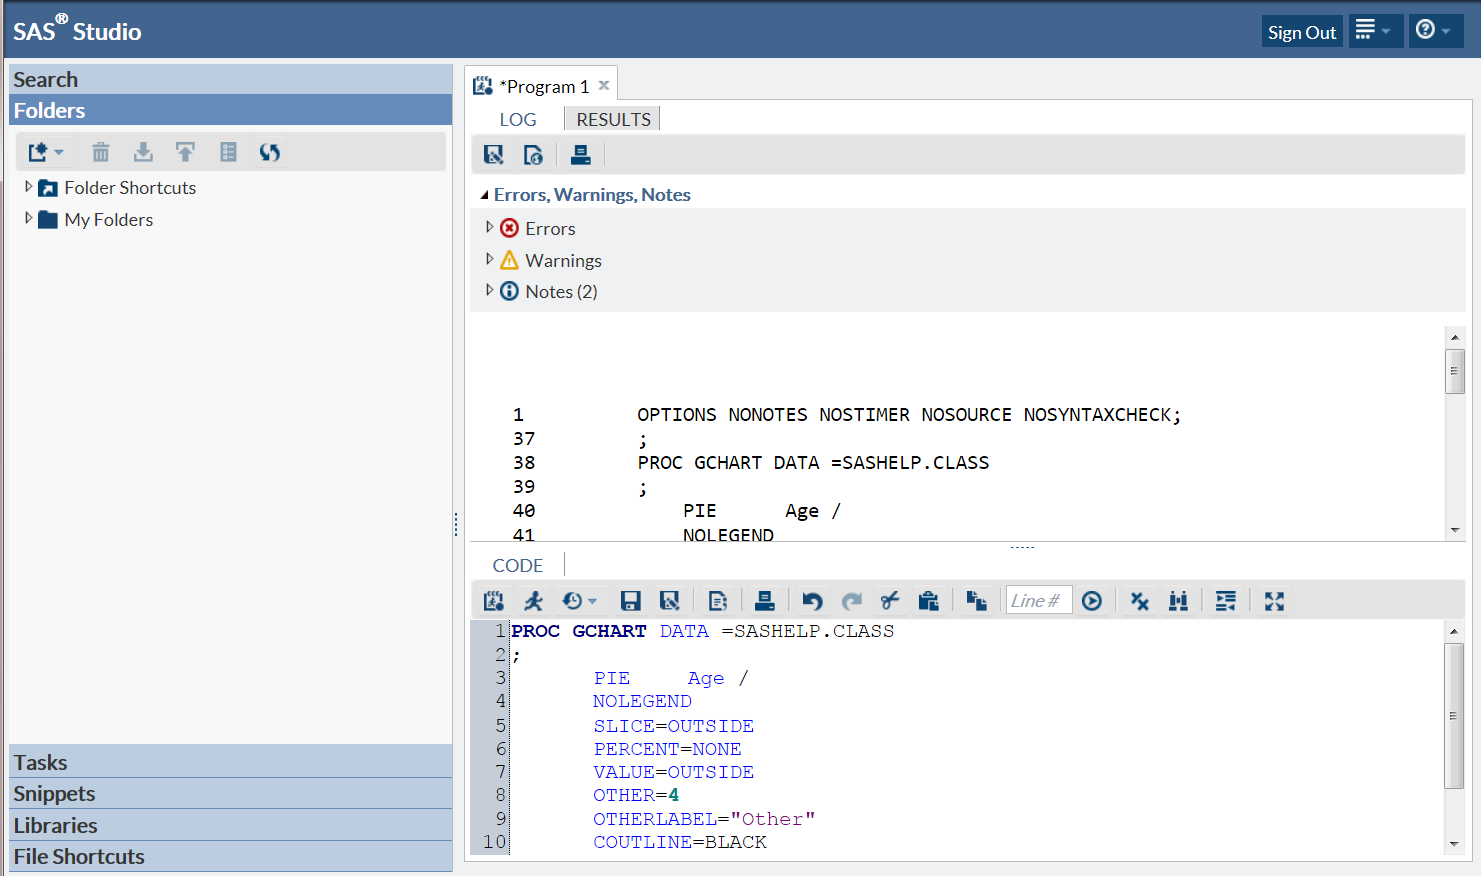
Using the Work Area
About Using the Work Area
The work area is the
main portion of the SAS Studio application for accessing programs
and tasks and for viewing data. The work area is always displayed
and cannot be minimized. When you open a program, task, or table,
the windows open as new tabs in the work area. The code, log, and
results that are associated with programs and tasks are grouped together
under the main tab for the program or task.
Customizing the View of the Program Tab

Setting General Preferences
|
opens new programs with
the interactive mode on. This option is available only if you are
running the first maintenance release for SAS 9.4. For more information,
see Working in Interactive Mode.
|
Changing Your SAS Workspace Server
If you have access to
more than one SAS workspace server, you can change the server that
SAS Studio connects to. To change the server, click  and select Change SAS Workspace Server.
Select the server that you want to use. When you change servers, any
libraries and file shortcuts that you created are deleted. For more
information, see SAS Studio 3.1: Administrator's Guide.
and select Change SAS Workspace Server.
Select the server that you want to use. When you change servers, any
libraries and file shortcuts that you created are deleted. For more
information, see SAS Studio 3.1: Administrator's Guide.
and select Change SAS Workspace Server.
Select the server that you want to use. When you change servers, any
libraries and file shortcuts that you created are deleted. For more
information, see SAS Studio 3.1: Administrator's Guide.
Copyright © SAS Institute Inc. All rights reserved.