Exporting Data from Report Objects
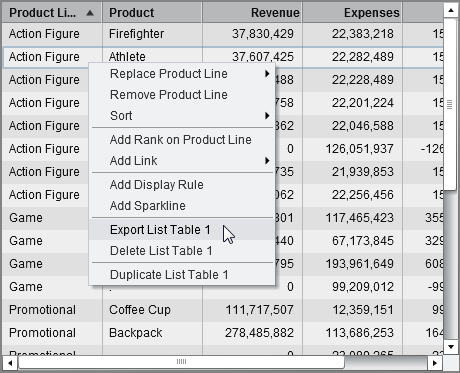
Export Data from a List Table
To export data from
a list table:
-
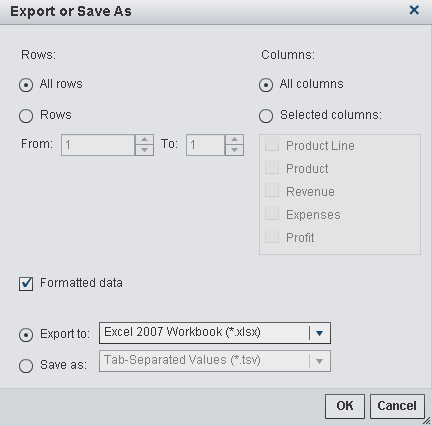
Choose one of the following export options for columns:
-
Select Selected columns to specify which columns to export. Then, select the check box (or check boxes) to the left of the column (or columns) that you want to export. At least one column is required. If you do not select a column, then a message is displayed, and the Export or Save As window cannot be closed.
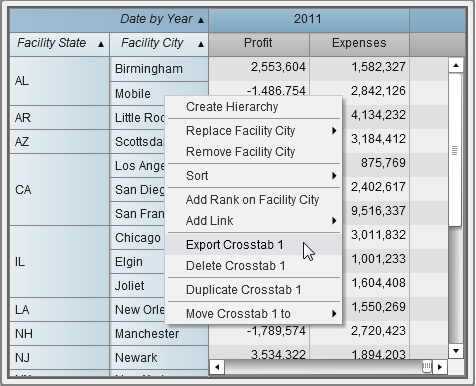
Export Data from a Crosstab
To export detail data
from a crosstab:
-
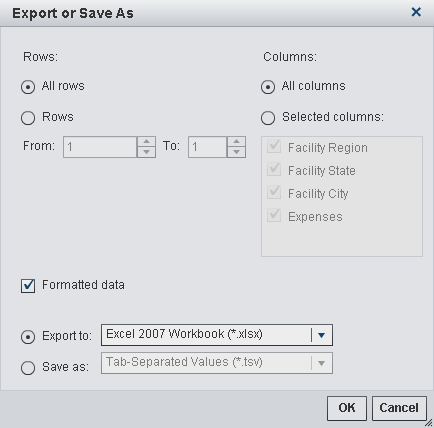
Choose one of the following export options for columns:
-
Select Selected columns to specify which columns to export. Then, select the check box (or check boxes) to the left of the column (or columns) that you want to export. At least one column is required. If you do not select a column, then a message is displayed, and the Export or Save As window cannot be closed.
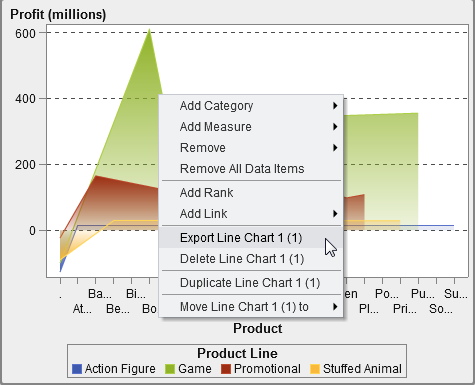
Export Data from a Graph
To export data from
a graph:
-
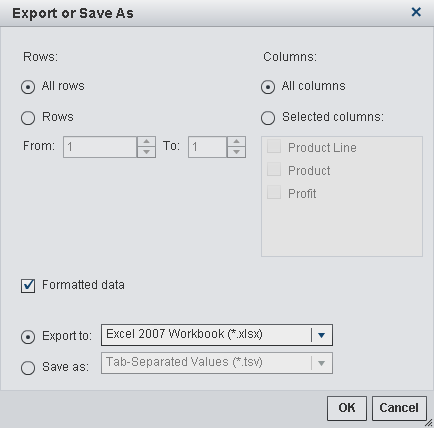
Choose one of the following export options for columns:
-
Select Selected columns to specify which columns to export. Then, select the check box (or check boxes) to the left of the column (or columns) that you want to export. At least one column is required. If you do not select a column, then a message is displayed, and the Export or Save As window cannot be closed.
Copyright © SAS Institute Inc. All rights reserved.