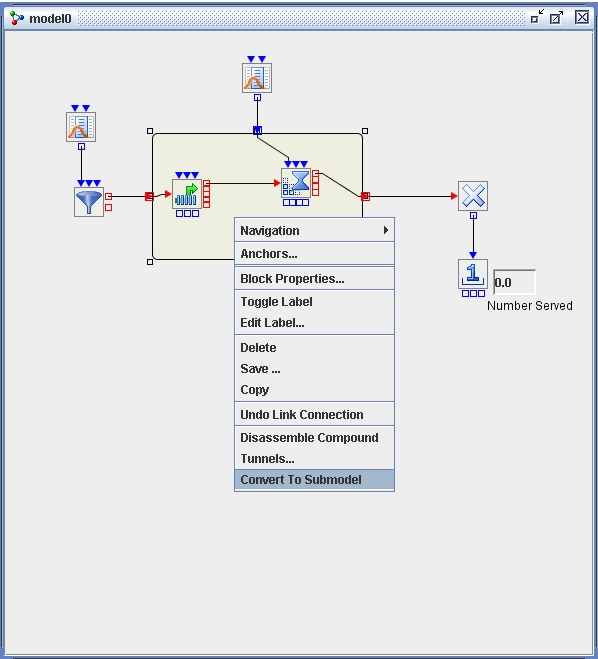
There are two ways to create a submodel block in a model:
-
You can convert an existing compound block to a submodel block by selecting Convert to Submodel from the compound block pop-up menu (available by right-clicking on a compound block), as shown in Figure 7.7. If the compound block to be converted does not have tunnels defined, then all input and output connections to the compound block are converted into tunnels automatically after the submodel is created.
-
You can drag the submodel block icon from the Advanced template and drop it into a Model window. Then you right-click on the submodel block to open its Block Properties dialog box and specify the path of a previously saved compound block (
.cblkfile), as shown in Figure 7.8.
In the submodel Block Properties dialog box, you select the Visual tab to change the submodel block label, to make the label visible in the model, to change the position of the label around the block icon, and to select a custom image for the submodel block icon. As with basic blocks, you can also right-click on a submodel block and select Edit Label to edit the submodel label and position or select Toggle Label to toggle between displaying and hiding the label.

