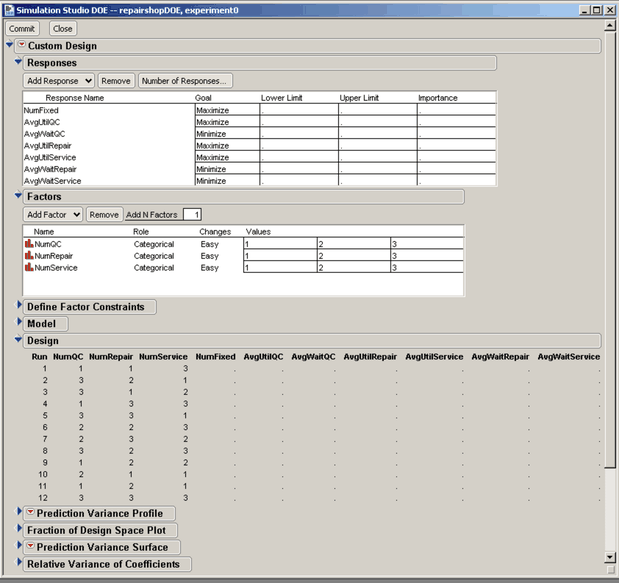
Now you are ready to generate a JMP experimental design. First, ensure that the JMP server has been launched. See Chapter 3: Introduction to SAS Simulation Studio. Then, right-click in the Experiment window and select Make Design from the pop-up menu. To use the Make Design option, the Experiment window must include at least one factor and one response. The default design created by the JMP custom designer is automatically passed back to the Experiment window in Simulation Studio. You can alter the JMP design by adding additional design points, replicates, or interaction terms. See the JMP documentation for specific information about design of experiments. However, you must create all factors and responses in Simulation Studio since they must be linked to specific model blocks. If you create new factors or responses in the JMP program, they will not be passed back to Simulation Studio. If any changes are made to the JMP design, you must click the Commit button in the JMP Simulation Studio DOE window to automatically pass the new design back to Simulation Studio. Figure C.8 shows the JMP Simulation Studio DOE window with the Commit button in the top left corner.