| The ISHIKAWA Procedure |
Adding Arrows
You add an arrow by pointing with the mouse to the intended attachment point along an existing arrow and clicking the mouse. You control the direction of the new arrow by offsetting the mouse cursor a small distance away from the parent arrow on the side where the new arrow is to appear.
For example, to add upper branches, you offset the cursor slightly above the trunk. To add lower branches, you offset the cursor slightly below the trunk. Likewise, you offset the cursor to the right of the branch to add a right-hand stem and slightly left for a left-hand stem.
If a new arrow is not drawn as you intended (either positionally or directionally), you can easily move or delete it. To delete a new arrow before you have entered any text, click in the background. To move a new arrow before you have entered any text, move the cursor to a new attachment point and click.
Once an arrow is drawn, you are immediately prompted for its label (note the hint, Edit..., displayed on the message line and the appearance of the text cursor at the end of the arrow). See Labeling Arrows, for details on the text editing features of the ISHIKAWA environment.
A diagram can contain up to ten levels of detail, but the number of arrows is limited only by the resolution and size of your graphics display.
Example
Continuing with the tutorial example from Tutorial, suppose that you have obtained detailed information for each of the three major service areas, which you want to display by adding stems to the branches of the diagram you previously created. If you closed the ISHIKAWA environment after saving the data set, SASUSER.AIRLINE, you can easily restore the diagram by submitting:
   proc ishikawa data=sasuser.airline;
      run;
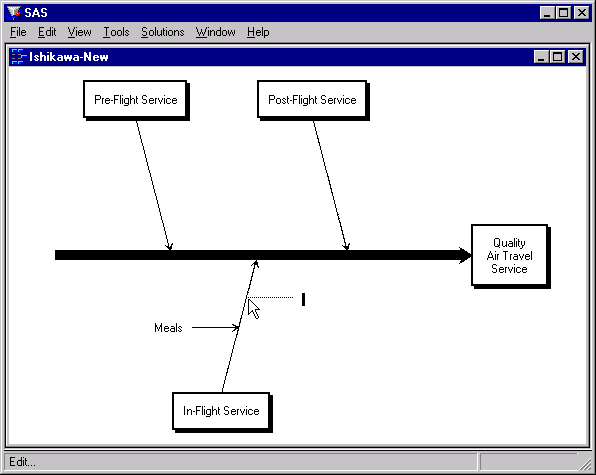
To add a stem to the left side of the branch labeled In-Flight Service, position the cursor so that it is just to the left of the point where you want the stem to attach. Click the mouse. The new arrow (pending text) appears as follows:

Type the label Meals and press Return twice.
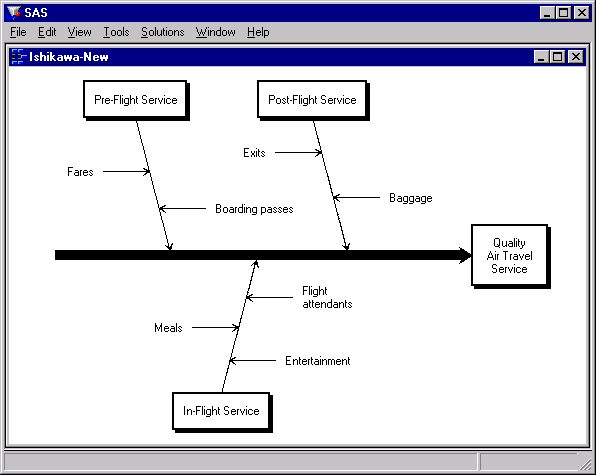
To add a stem to the right side of the same branch, position the cursor so that it is just to the right of the attachment point. When you click the mouse, your window will appear as follows:
Type the label Flight attendants on two lines and press Return to terminate text entry.
Complete the diagram by adding the remaining stems shown in the following window:
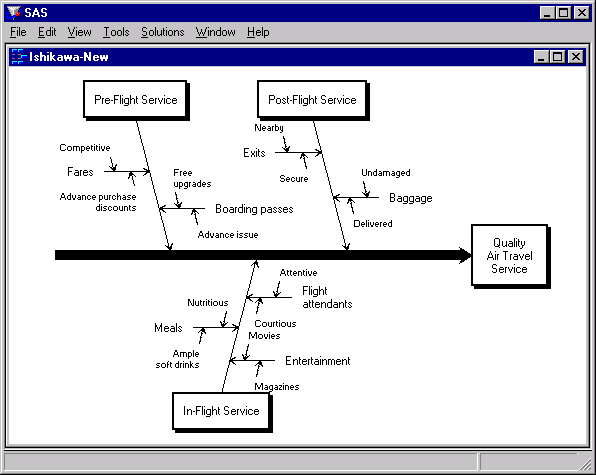
Experiment further by adding several of the leaves shown in the following window. Don’t be concerned if some of the labels collide with each other. Later, you will learn how to move and resize arrows.
Copyright © SAS Institute, Inc. All Rights Reserved.