During the SAS Model
Manager installation process the
ModelManager,
sasfolders,
and
sasdav WebDAV folders are automatically
created on the SAS Content Server. You can use the SAS Content Server
Administration Console (SCS Admin Console) to create a new publishing
location for the WebDAV folder or to control access to an existing
WebDAV folder. If you need to define a new WebDAV-enabled HTTP content
server after the initial installation of SAS Model Manager, then you
must define a publishing location. For more information, see
Define an HTTP or HTTPS Server. Note: Although you can add a folder
to the
sasfolders location, the folder that
you add is not added to the SAS Metadata Server.
Tip
The best practice is to add
folders to metadata using SAS Management Console.
To define a new publishing
location:
-
Access the SAS Content
Server Administration console by entering the following URL in your
web browser and substituting the server name and port number of your
SAS Content Server:
http://server-name:port/SASContentServer/dircontents.jsp.
Note: The default port number for
the SAS Web Application Server is 80.
-
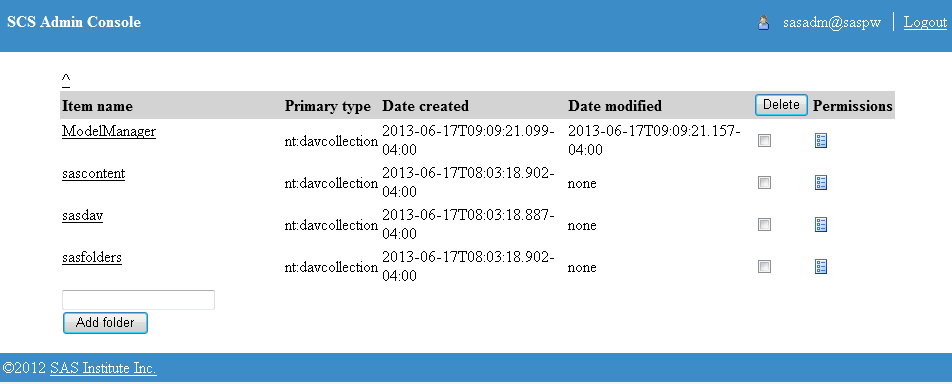
Log on to the console
as an unrestricted user (for example, SAS Administrator). The
SCS
Admin Console window appears.
-
Enter a name for the
folder in the text box and then click
Add folder to
create a new location for publishing channels.
-
(Optional) To create
a subfolder, select the folder that you created in the previous step,
enter a name for the subfolder in the text box, and click
Add
folder.
Note: Use the breadcrumb trail
above the list to return to a parent folder.
-
To set permissions for
a folder:
-
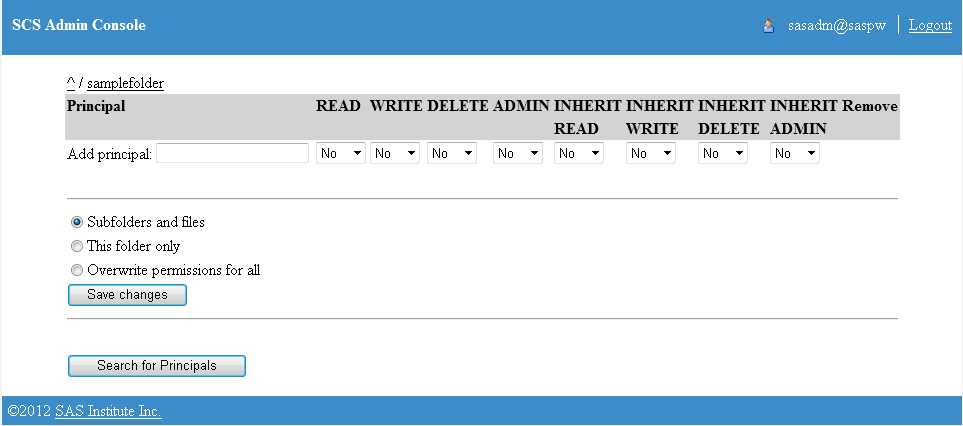
Click the permission
icon

next to the item that you want to modify. The
Permissions page
appears.
-
For each principal that
is listed, modify the permissions by changing each permission to
Yes or
No.
-
To add more principals
to the page, do one of the following:
-
If you know the principal's name,
enter it in the field and click
Save changes.
-
Click
Search for Principals to
search for a name. When you find the principal that you want to add,
select the check box that is next to the principal's name and then
click
Return.
After the principal's
name appears on the permission page, you can set permissions for the
principal.
Note: For more information about
administering the SAS Content Server, see the
SAS 9.4 Intelligence
Platform: Web Application Administration Guide.