The SAS Model Manager
installation process defines a default SAS Content Server. Use this
process to add HTTP or HTTPS servers. A WebDAV-enabled HTTP or HTTPS
content server must be defined in SAS Management Console before you
can publish to channels from SAS Model Manager. The server is usually
a third-party server such as Microsoft Internet Information server
or an Apache server.
Note: You must have WriteMetadata
permission for a repository in order to define an HTTP or HTTPS content
server for that repository.
To define your HTTP
or HTTPS content server, follow these steps:
-
-
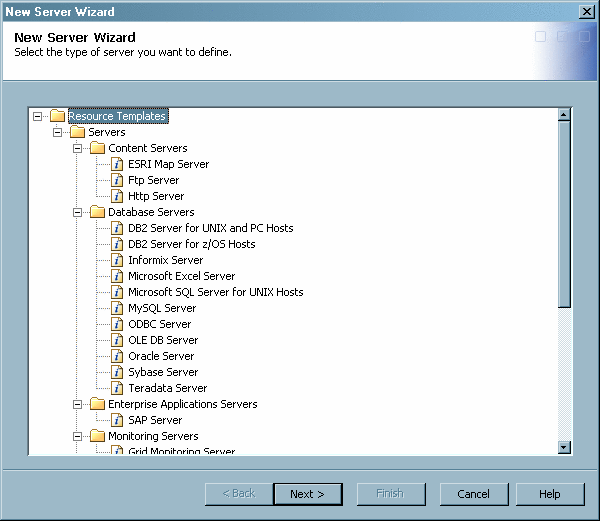
From the
Plug-ins tab, right-click
Server Manager, and then select
New Server. The
New Server Wizard window appears.
-
Select
Resource Templates ServersContent ServersHttp Server
, and then click
Next.
Note: If the HTTP server template
is not available, then you must add the resource template. For more
information, see the SAS Management Console Help.
-
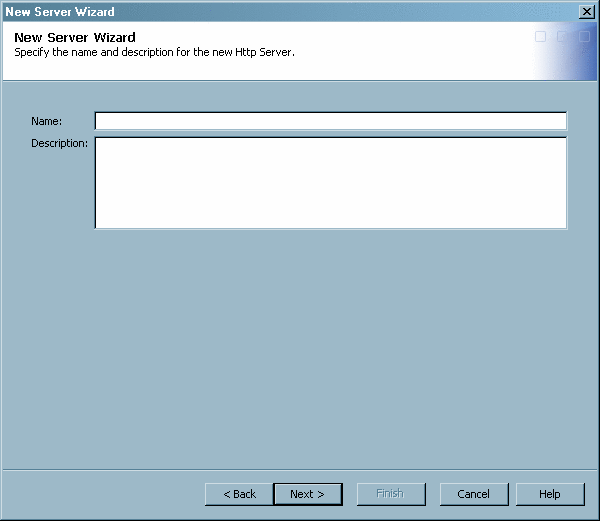
Enter the name and the
description of your HTTP server. Click
Next.
-
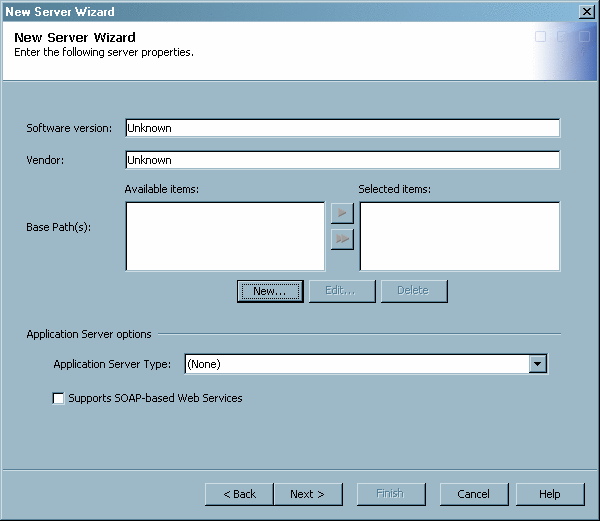
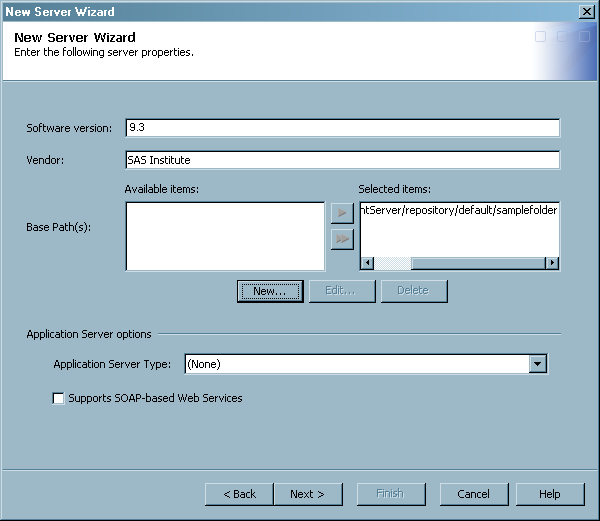
(Optional) On the server
properties page, enter the software version and vendor information
for the third-party HTTP or HTTPS server that you are defining.
-
Click
New to create base path or paths on your server. The
New Base Path dialog box appears.
-
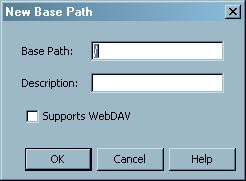
In the
Base
Path field specify the location of the top-level directory
where report content items such as report definitions or image files
are stored. (This path must be set up as an alias on the Web server.)
The
Description field is optional.
-
Select the
Supports WebDAV option and then click
OK to save your settings. The new base path appears in the
Base Path(s) field of the server properties page.
-
Click
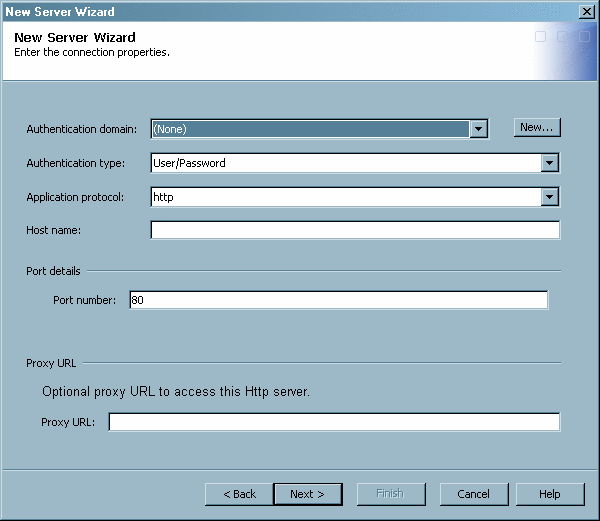
Next. The connection properties page opens.
-
Enter the connection
properties for your HTTP server:
-
Select
DefaultAuth from the list. When you click
New to create
a new domain, a dialog box appears. Enter the name and description
of your domain.
-
Enter the fully qualified
name or the IP address of your server.
-
Enter a port number
(for example, 8080 for a Web application server).
-
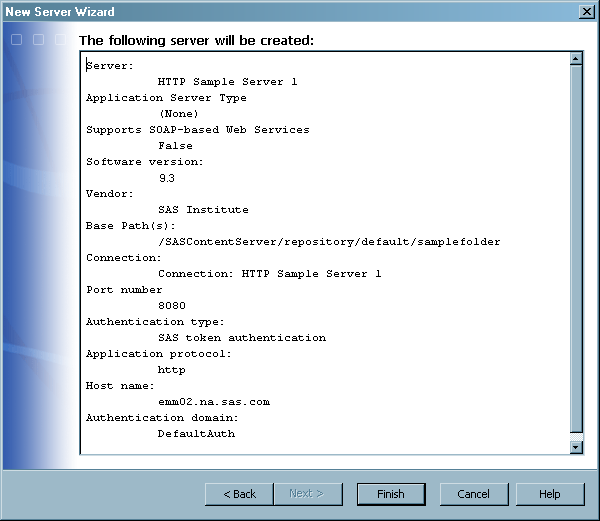
Click
Next. The
New Server Wizard window displays
a summary of the settings for the new server and indicates that you
have successfully completed the definition of a new server.
-
Click
Finish. Your new server is displayed under the Server Manager node in the
SAS Management Console Navigation Tree.
For more information,
see the following resources:
-
The SAS Management Console
Help.
-
The SAS online documentation
about administering HTTP Servers and WebDAV, available at
http://support.sas.com. Search for Administering HTTP Servers and WebDAV.