Configuring Universal Printing Using the Windowing Environment
Overview of the Universal Printing Menu
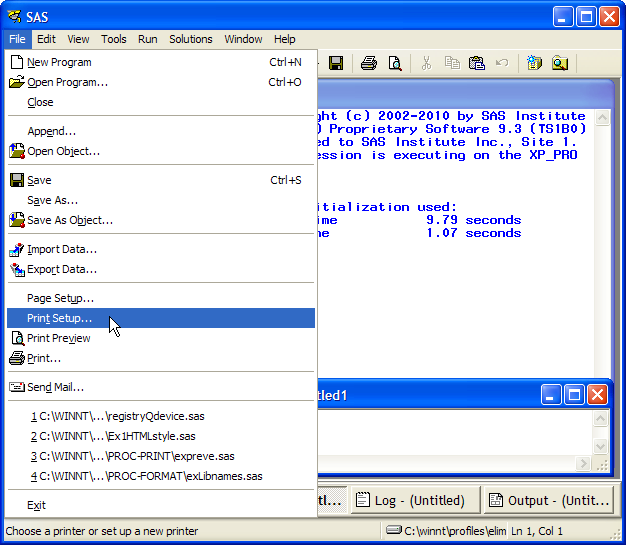
The following display
shows the File menu containing the Universal
Printing choices of Page Setup, Print Setup, Print Preview,
and Print.
Windows Specifics: In the Windows operating environment, SAS uses the Windows print
windows as the default. To access the Universal Printing user interface,
the UNIVERSALPRINT system option must be set. To do this, include
the following line of code in the string that you use to invoke SAS
in Windows:
-uprintUPRINT is an alias for the UNIVERSALPRINT system option.
You can open Universal Printing windows by entering
commands at the command line or into the command box in the menu bar.
The following table lists the commands for the most common tasks.
Setting Up Printers
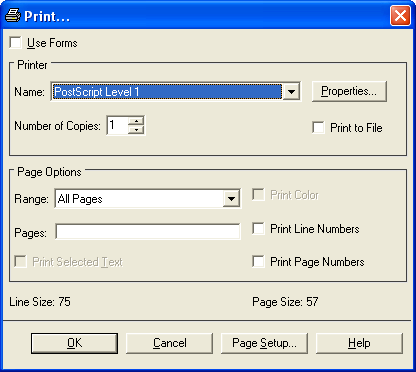
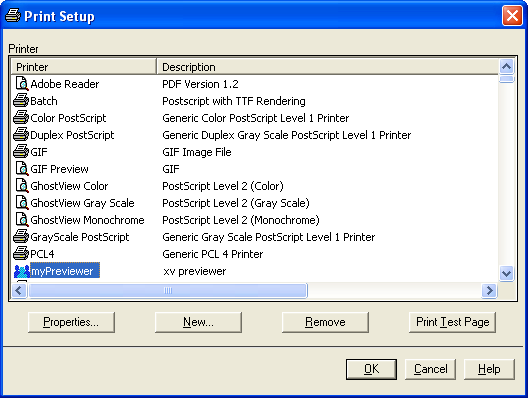
Print Setup Window
Change the Default Printer
Remove a Printer from the Selection List
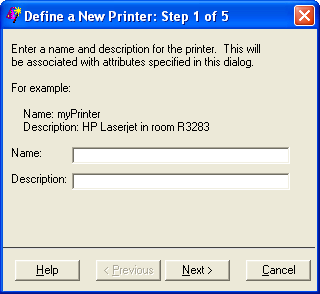
Define a New Printer
While Universal Printing provides
you with predefined printers, you can also add your own printers
with the Define a New Printer wizard. This
wizard guides you step-by-step through the process of installing a
printer.
-
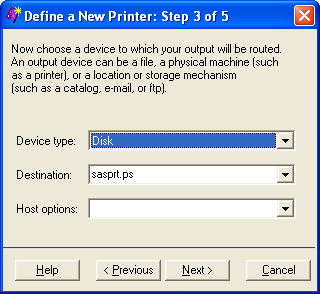
Select the Device type for your print output. Put this sentence in a paragraph under the numbered itemIf you select Catalog, Disk, Ftp, Socket, or Pipe as the device type, then you must specify a destination.If you select a device type of Printer, then a destination might not be required, because some operating environments use the Host options box to route output.Note: Examples for your operating system of Device Type, Destination, and Host options are also provided in Sample Values for the Device Type, Destination, and Host Options Fields.
-
The destination is the target location for your device type. For example, if your device type is disk, then your destination is an operating environment-specific filename. With some system device types, the destination might be blank and you can specify the target location using the Host options box.
-
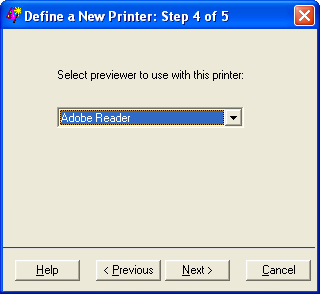
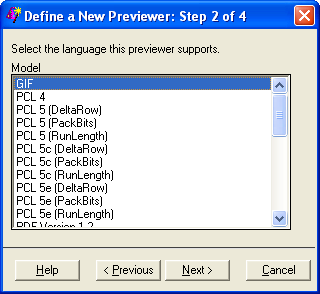
Click Next to proceed to Step 4 of the wizard, in which you select from a list of installed print previewers.If the previewer selection box appears, select the previewer for this printer. If you do not need a previewer, choose None or leave the field blank.Note: You can add a previewer to any printer through the DMPRTCREATE PREVIEWER command. For more information, see Define a New Previewer.
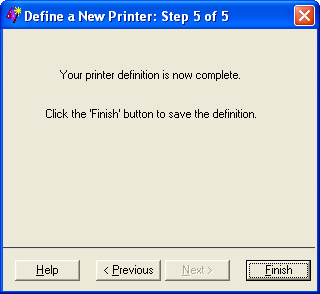
After you have returned
to the Print Setup window, you can test your
default printer by clicking Print Test Page.
Note: You can also use the PRTDEF
procedure to define a printer programmatically. For more information,
see Managing Universal Printers Using the PRTDEF Procedure.
Set Printer Properties for Your Default Printer
-
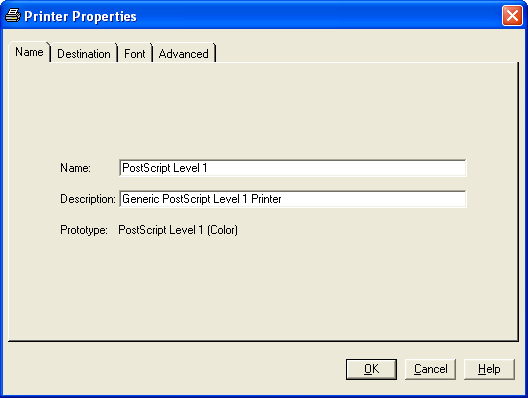
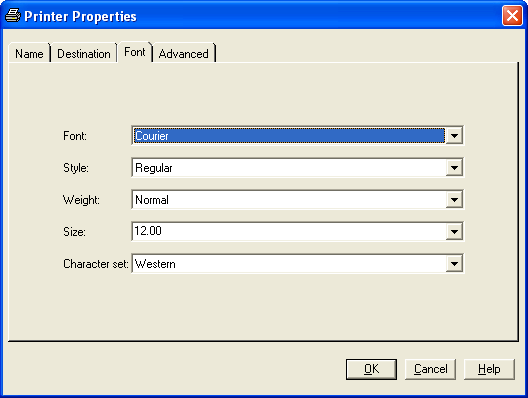
From the Printer Properties window, select the tab that contains the information that you need to modify.
-
Note: The printer name is not case sensitive. If you change only the casing, the printer name change fails. To change the case of the printer name, you can either delete the printer and recreate it with the new casing, or you can modify the name of the printer, save the modifications, and then change the name again to the name and casing that you want.
-
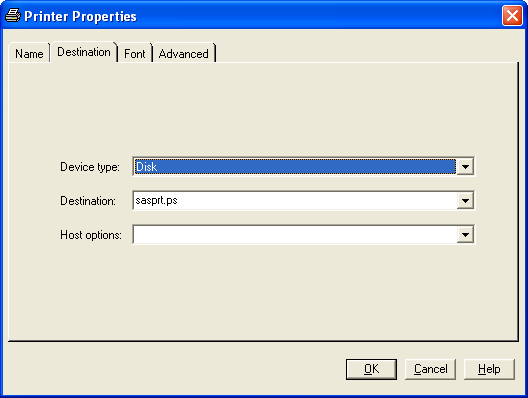
The Destination tab enables you to designate the device type, destination, and host options for the printer. See Sample Values for the Device Type, Destination, and Host Options Fields for examples.
-
The Font tab controls the available font options. The selections available in the drop-down boxes are printer specific. The font size is in points.
-
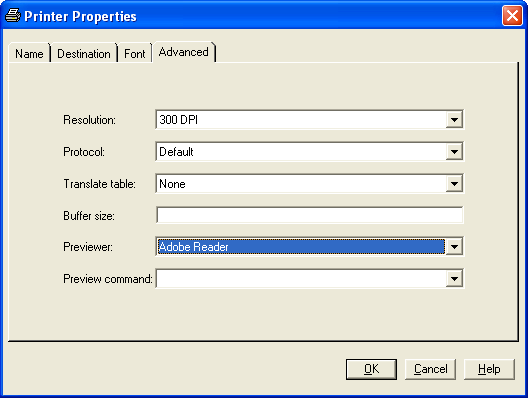
The Advanced tab lists the Resolution, Protocol, Translate table, Buffer size, Previewer, and Preview command options for the printer. The information in the drop-down fields is printer specific.provides the mechanism for converting the output to a format that can be processed by a protocol converter that connects the EBCDIC host mainframe to an ASCII device. Protocol is required in the
z/OS operating environment, and if you must use one, select one of the protocol converters that are listed.manages the transfer of data between an EBCDIC host and an ASCII device. Normally, the driver selects the correct table for your locale; the translate table needs to be specified only when you require nonstandard translation.controls the size of the output buffer or record length. If the buffer size is left blank, a default size is used.specifies the Previewer definition to use when Print Preview is requested. The Previewer box contains the previewer application that you have defined. See Define a New Previewer.is the command that is used to open an external printer language viewer. For example, if you want Ghostview as your previewer, typeghostview %s. When a Preview Command is entered into a Printer definition, the printer definition becomes a previewer definition. The Preview Command must a valid command. When the command is executed as part of the preview process the %s are replaced with the name of a temporary file that contains the input for the preview command.
-
How to Specify a Printer for Your Session
The PRINTERPATH=
system option enables you to specify a universal printer to use for
the current SAS session. This printer specification is not retained
across SAS sessions. The PRINTERPATH= system option is primarily used
in batch mode, when there is no windowing environment in which to
set the default printer. This option accepts a character string as
its value. For example:
options printerpath=myprinter;
options printerpath="Print PostScript to disk";
Printing with Universal Printing
Print the Contents of an Active SAS Window
-
Note: If you print to an existing file, the contents of the file are either overwritten or appended, depending on whether you choose replace or append from the open print window. Most viewers for EMF, GIF, SVG, and PNG files do not view appended files. When append is selected with a PDF printer, a merged PDF file is not produced.
-
The fields in the Page Options area provide choices according to the content in the SAS window that you are trying to print. By default, SAS prints the entire contents of the selected window.
Working with Previewers
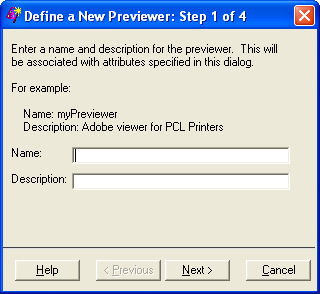
Define a New Previewer
Previewers enable you to preview a print job. SAS does
not set a default previewer application. To use the Print Preview
feature in SAS, you or your system administrator must first define
a previewer for your system.
Previewers can be defined
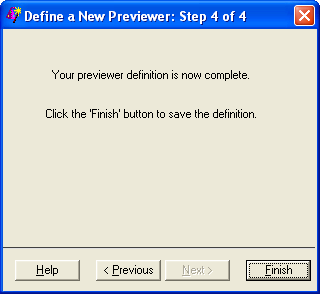
using the New Previewer wizard. To use the New Previewer wizard to define a new print previewer,
follow these steps:
-
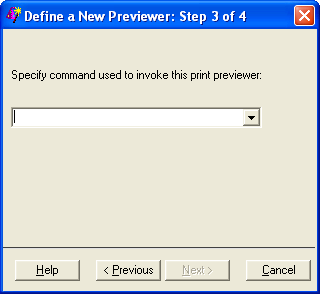
Enter the command or commands used to open the previewer application, followed by
%swhere you would normally put the input filename.For example, if the command for starting your previewer is “ghostview,” then you would typeghostview %sin the text field.You can pre-populate or seed a list of commands used to invoke a print preview application. For more information, see Seeding the Print Previewer Command Box.
Seeding the Print Previewer Command Box
Print
Preview is supported by print previewer applications such as Ghostview,
gv, and Adobe Reader. The Preview command box that appears in the Previewer Definition wizard
(Previewer Definition Window to Enter Command to Open Previewer Application) and on the Advanced tab of the Printer Properties window (Printer Properties Window Displaying Advanced Tab) can be pre-populated or seeded with a list of commands.
These commands are used to invoke print previewer applications that
are available at your site. Users and administrators can manually
update the registry, or define and import a registry file that contains
a list of previewer commands. This is an example of a registry file.
[CORE\PRINTING\PREVIEW COMMANDS]
 "1"="/usr/local/gv %s"
 "2"="/usr/local/ghostview %s"
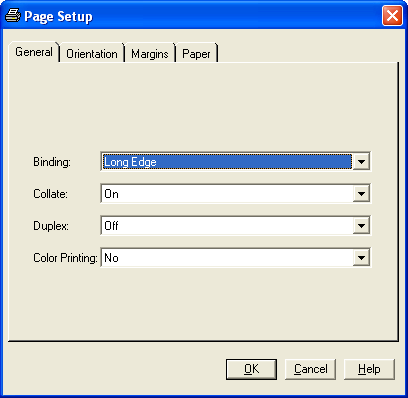
Set Page Properties
You can customize how your printed output appears in
the Page Setup window. Depending on which
printer you have currently set, some of the Page Setup options that
are described in the following steps might be unavailable.
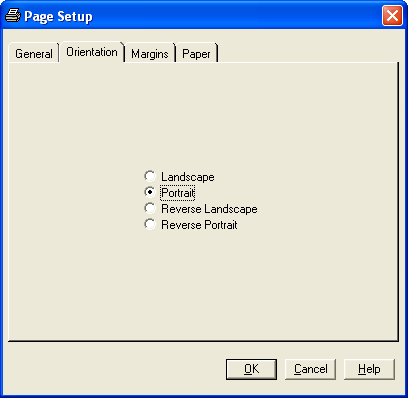
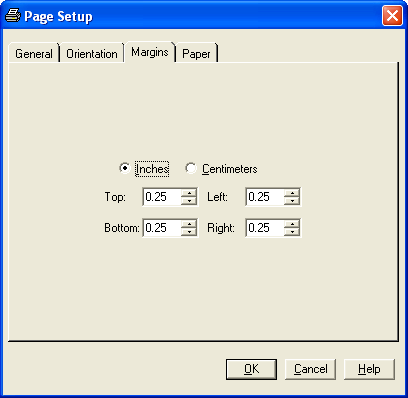
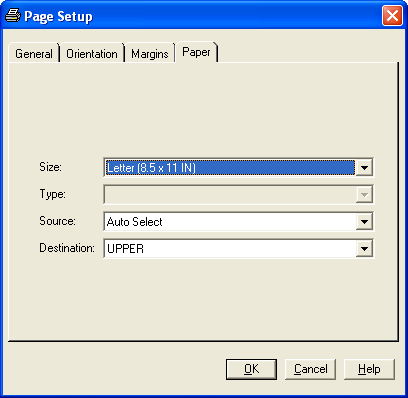
The Page
Setup window consists of four tabs: General, Orientation, Margins, and Paper.
Note: Page settings are stored
in the SAS registry. Although your page settings should remain in
effect from one SAS session to another, changing default printers
could lose, change, or disable some of the settings. If you change
printers during a SAS session, check the Page Setup window to ensure that all of your settings are valid for your new
default printer.