Preparing to Work with SAS Enterprise Guide
About Preparing to Work with SAS Enterprise Guide
Before you begin working with the
supplied SAS Enterprise Guide projects, you must use the functions
of SAS Enterprise Guide in order to perform the following tasks:
Note: Supplied SAS Enterprise Guide
projects include pointers to information maps. These information maps
are created when you run the corresponding information map jobs that
the Adapter Setup wizard creates. Before
you begin working with a supplied SAS Enterprise Guide project, you
should run the Adapter Setup wizard for the
corresponding adapter and domain category. You must then run the jobs,
including the information map job, to create the information map that
the supplied project uses.
Setting Up SAS Enterprise Guide for SAS IT Resource Management Data
In order to work
with the data from SAS IT Resource Management, SAS Enterprise Guide
needs to access the SAS Metadata Repository. To access a SAS Metadata
Repository for use by SAS Enterprise Guide, perform the following
steps:
For information, see Administering
SAS Enterprise Guide. To locate this documentation, navigate
to http://support.sas.com/documentation/index.html. From the list of products, select the SAS
Enterprise Guide.
Migrating SAS Enterprise Guide Projects to Work with SAS IT Resource Management 3.3
About the Migration Wizard
The Migration
Wizard for SAS Enterprise Guide and the SAS Add-in for Microsoft Office enables
you to migrate report projects that are created with earlier versions
of SAS IT Resource Management and SAS Enterprise Guide. The migrated
report projects can then be used with your current version of SAS
IT Resource Management and SAS Enterprise Guide.
SAS Enterprise Guide
projects supplied by SAS IT Resource Management, and typically those
created for use with SAS IT Resource Management, use information maps
in the report projects. Therefore, you must change the map paths of
the supplied information maps to point to the information maps that
you created with the Adapter Setup wizard.
The easiest way to change the map paths is to use the Migration
Wizard for SAS Enterprise Guide and the SAS Add-in for Microsoft Office .
Prerequisites to Running the Migration Wizard
Before you run the Migration wizard,
you must run the staging, aggregation, and information map jobs that
create the information maps for the adapter and domain category that
you want to work with.
If you installed the
supplied SAS Enterprise Guide projects, they can be accessed by navigating
to the location where you installed SAS IT Resource Management on
the client workstation. The projects are located at
SASITResourceManagementSASEnterpriseGuideComponents\3.3.
For example, if you installed SAS IT Resource Management on a 64-bit
machine, the projects might be located at C:\Program
Files\SASHome\x86\SASITResourceManagementSASEnterpriseGuideComponents\3.3.
Running the Migration Wizard
To run the Migration wizard,
navigate to the location where the current version of SAS Enterprise
Guide is installed. Then select MigrationWizard.exe. Click Enter to
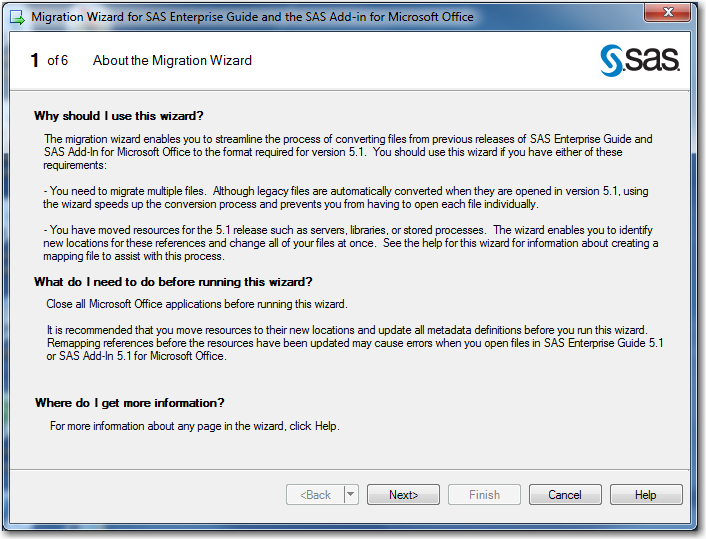
invoke the Migration wizard. The first page
of the Migration wizard appears. This page
contains information about why you should use this wizard and what
you should do before you run it.
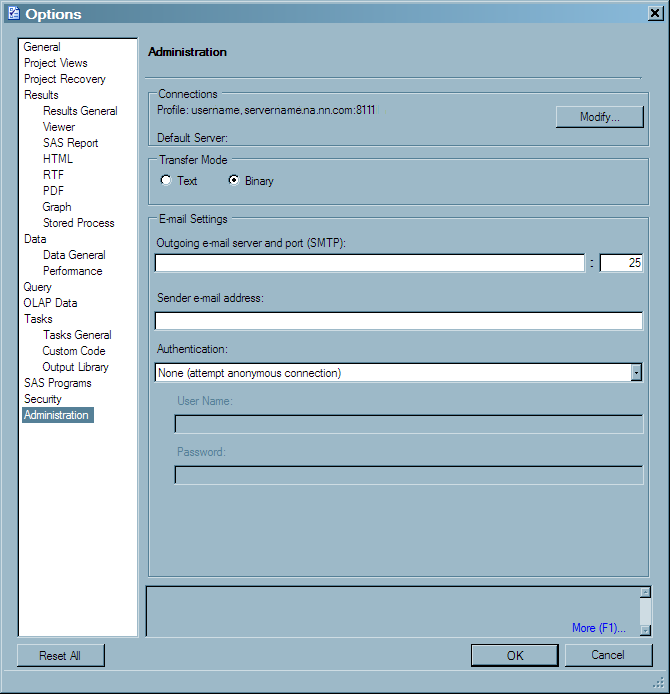
On page 2 of the wizard,
verify the connection profile of the application server where your
information maps are located. You can click Modify to
change your connection profile.
On page 3 of the wizard,
select the files that you want to migrate. To do so, perform the
following steps:
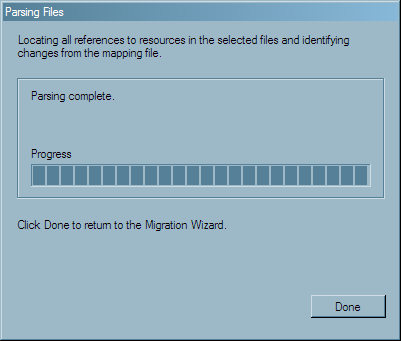
On page 4 of the wizard,
information is displayed that explains the next steps of the migration
process. Click Next to run the process that
parses the files. The progress of the wizard is displayed as it locates
all the references to the projects that you selected.
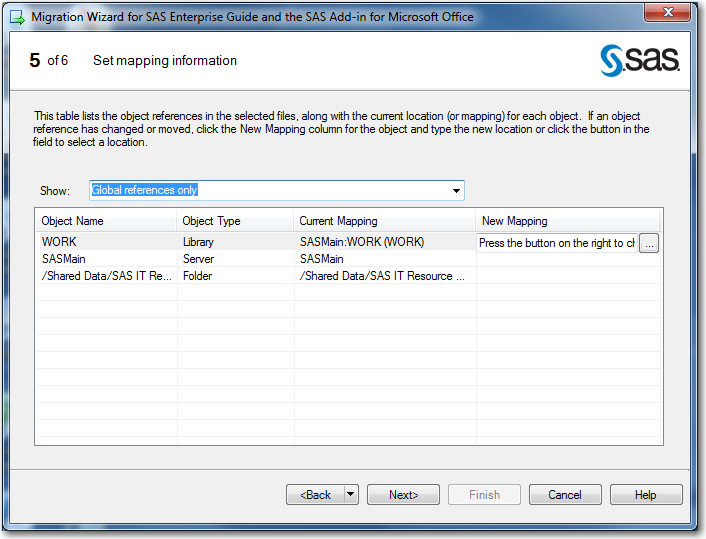
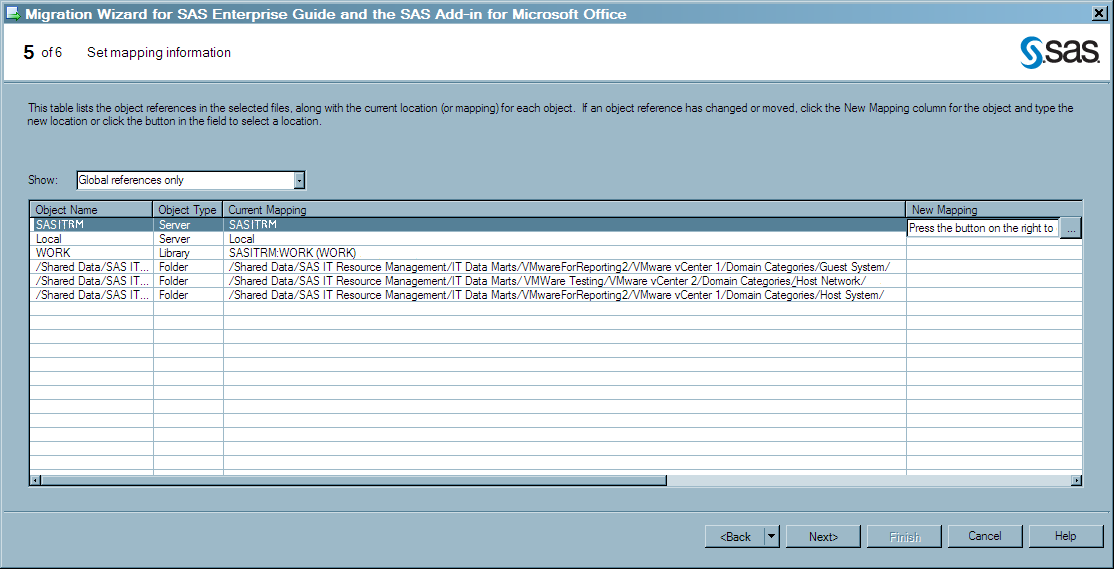
On page 5 of the wizard,
you must enter the new mapping information for the selected projects.
To do so, perform the following steps:
-
If necessary, resize the Current Mapping column width so that you can see the complete path. This path is the path that was used in the SAS Enterprise Guide project when it was last saved. It identifies the adapter and domain category for which the project was developed. As shown in the following display, a typical path is quite long (for example,
/Shared Data/SAS IT Resource Management/IT
                                    Data Marts/VMwareForReporting2/VMware vCenter 1/Domain Categories/Guest
                                    System/
). -
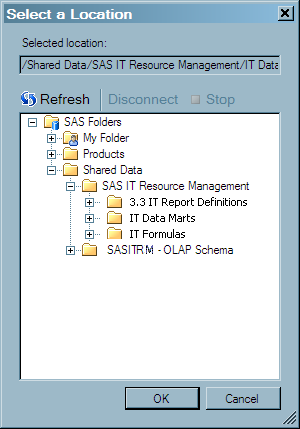
If you want to globally change all references to the server, click the ellipsis button (...) in the New Mapping column. The Change Resource dialog box appears. Use the Browse button to display the list of servers from which you can select the Server name that you want to use in your paths. If you want to apply this change to all the object references that contain this value, check the corresponding box.
-
Click Finish to perform the migration. The Migrating files window displays the progress of your migration. When the migration is complete, the status of the processing is displayed. If a processing error occurred, you can view the log file. Otherwise, click Done to exit from the Migration wizard. The jobs that contain the projects that were successfully migrated can be opened in the IT data mart and run.