Creating an Aggregation Table with the Simple Aggregation Table Wizard
To create an aggregation
table with the Simple Aggregation Table wizard, respond to the wizard's
prompts.
-
To enter general information about the table, see How to Enter General Information about the Aggregation Table.
-
If this aggregation table is the first target table that is specified for this Aggregation transformation, an additional page of the wizard opens. This page prompts you for the physical target location and for information about the SAS library where the data will be stored. For information about specifying a library, see How to Specify Library Information.
-
Filters can limit the amount of data that is input to an aggregation table. On the page of the wizard that is called Select filter and column for data duplication, you can specify a filter. For information, see How to Select a Filter.
-
On the Specify aging page, you can specify aging and purging criteria. For information, see Specify Aging.
-
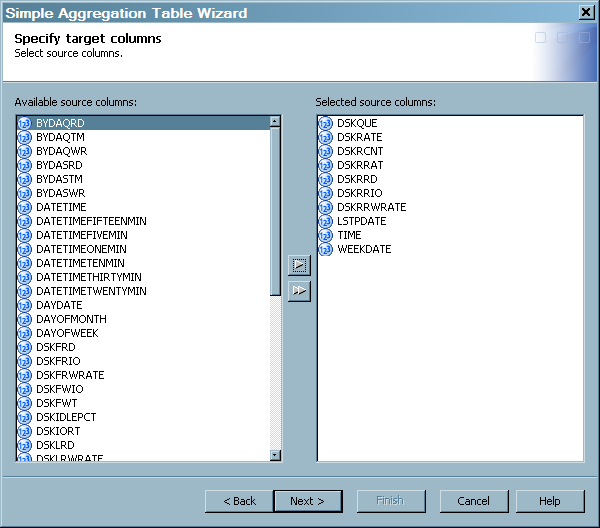
On the Specify target columns page, you can specify the columns from the source table that are to be included in the target aggregation table. To select columns for the target table, highlight the columns in the Available source columns panel and then click the right arrow to move those columns into the Selected source columns.
-
On the Join columns page, you can specify columns from other aggregation tables in this Aggregation transformation to join with columns in this target table. For information, see Specify Join Columns.
-
For information about how to add, modify, or delete computed columns, see Specify Computed Columns.