Deploying Jobs as Stored Processes
Solution
Deploy the job as a
stored process. You can deploy an existing job as a version 1.0 or
version 2.0 stored process. For more information about the differences between the
versions, see Working with Stored Processes.
Note that when you deploy
a job as a stored process, the generated code for the stored process
always begins with these lines:
*ProcessBody;
%stpbegin;
If you want to specify
code that should come before these two lines when a job is deployed
as a stored process, then set the Stored process pre-process
code option for the job. To access this option, display
the properties window for the job and select Options General section. Specify the
desired code in the Stored process pre-process code option.
Tasks
Deploy a Job as a Version 1.0 Stored Process
Deploy a Job as a Version 2.0 Stored Process
You might want to deploy
a job as a version 2.0 stored process in order to run it on a SAS
9.3 or later server. Perform the following steps:
-
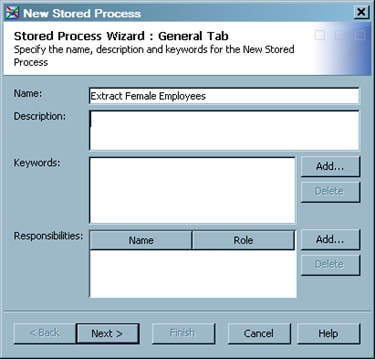
In the Inventory tree or the Folders tree on the SAS Data Integration Studio desktop, right-click the job for which you want to generate a stored process. Then, select Stored Process
 New 9.3 from the pop-up menu. The New 9.3 selection
is appropriate for any version 2.0 stored process, whether it will
run on a SAS 9.3 server or a later server. The first window of the Stored
Process wizard is displayed.
-
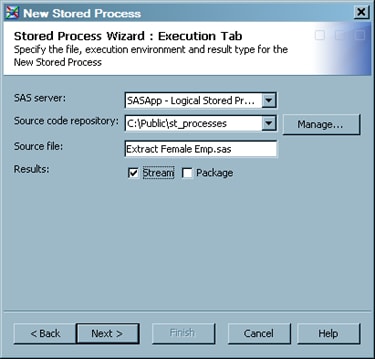
Specify a SAS server, a source repository, a source filename, any input stream, and any output type (result type) for the new stored process. For more information about the additional servers available for version 2 stored processes, see Working with Stored Processes.
-
Click Next to access the Data screen, where you can specify any data sources and targets that are used by the stored process. For information about data sources and targets, click Help in the Modify Data Source and Modify Data Target windows. To access these windows, select a source or target and click Edit.
Copyright © SAS Institute Inc. All rights reserved.

