You might want to deploy
a job as a version 1.0 stored process in order to run it on an older
server (a server with a version prior to SAS 9.3). Perform the following
steps:
-
In the Inventory tree
or the Folders tree on the SAS Data Integration Studio desktop, right-click
the job for which you want to generate a stored process. Then, select
Stored Process New 9.2
 from the pop-up menu. The first window of the
Stored
Process wizard is displayed.
-
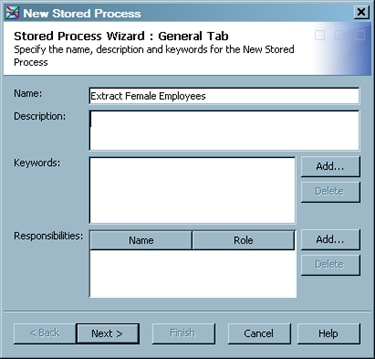
In the first window,
enter a descriptive name for the stored process metadata. You might
want to use a variation of the job name. Enter other information as
desired. For details about the fields in this window, select
Help.
Click
Next to access the
Execution tab
of the wizard.
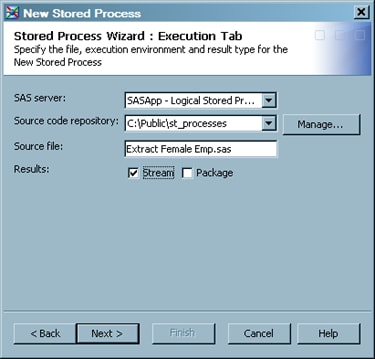
-
Specify a SAS server,
a source repository, a source filename, any input stream, and any
output type (result type) for the new stored process. The following
display shows some sample values for this window.
Click
Next to
access the
Parameters tab, where you can
specify any parameters that you need for the stored process.
-
Click
Next to
access the
Data tab, where you can specify
any data sources and targets that are used by the stored process.
-
Click
Finish.
A stored process is generated for the current job and is saved to
the source repository. Metadata about the stored process is saved
to the metadata server. A metadata object for the stored process is
added to the
Stored Process folder in the
Inventory tree.
After the job has been
deployed, it can be executed with any application that can execute
a SAS stored process.