Schedule a Scoring Test
Instead of executing
a scoring test, you can schedule a scoring test to run on a particular
date and time. You can also schedule how often you want the scoring
test to run. Advanced settings enable you to set the scheduling server,
the batch server to run the scoring test, and the location of the
scoring results.
Before you can schedule
a scoring test, your user ID and password must be made available to
the SAS Metadata Repository. You must also sign in to SAS Decision Manager
using your full user credentials that were specified for your user
account in SAS Management Console. For user accounts where a Microsoft
Windows user ID is specified, you must enter your user ID in the format
of domain\userID. Contact your
system administrator to add or update your password, and to determine
the correct user credentials for your account.
Note: You must have already created
a scoring test before you can schedule a job to run the scoring test.
CAUTION:
Check
your configuration settings before scheduling jobs.
Users who are configured
for single sign-on authentication by Kerberos cannot schedule jobs.
To schedule a scoring
test:
-
Select the scoring test that you want to schedule from the list and click
 .
.
-
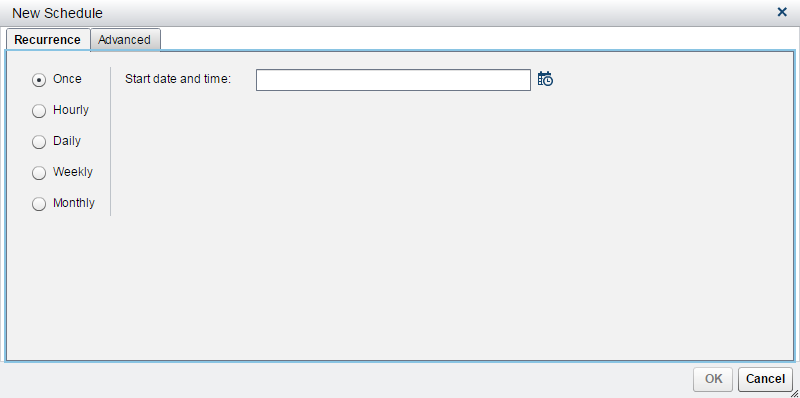
On the Recurrence tab, select the recurrence pattern.
-
Specify the criteria for when and how often the job should be run.
-
(Optional) Click the Advanced tab.
-
Select the server that schedules the job from the Scheduling server list box.Note: The SAS Distributed In-Process Services Scheduling Server is not supported.
-
Select the batch server that runs the job from the Batch server list box.
-
Click Browse to select a location for the output and click OK.
-
-
Click OK.
-
After the job has been scheduled, a confirmation message appears. Click Close.
-
Click the Job History tab to view the job status.
-
Click the Results tab to view the scoring test results.
Note: Scoring test job schedules
cannot be edited. To change the schedule, delete the schedule and
create a new schedule.
To delete a schedule,
select the schedule and then click  .
.
.
Copyright © SAS Institute Inc. All Rights Reserved.
Last updated: February 22, 2017