Profile Data
Introduction

Use
the Profile Data directive to generate profile reports for one or
more tables. You can select a subset of the columns that you want
to include in the profile report. The Profiles panel
of the Configuration window enables you to
change the default behavior of new profiles in order to improve performance.
For example, you can limit the number of parallel processes that are
used in new profile jobs. For more information, see Profiles Panel.
Table Name Length Requirement
Hive tables have a maximum
table name length of 132 characters. Many of the SAS Data Loader directives
can create tables with names that exceed the SAS table name length
limit of 32 characters. The tables that you submit for profiling in
the Profile Data directive must conform to the 32-character name length
limit. Table names that exceed 32 characters generate error messages.
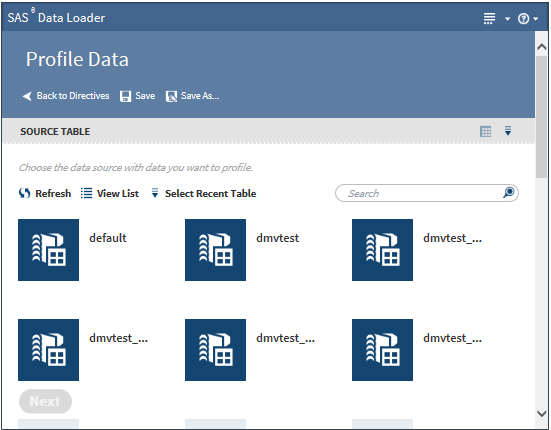
Create a Profile
To create a profile:
-
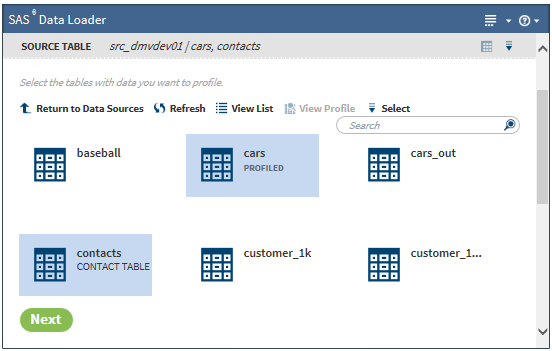
If a profile already exists for a table, PROFILED appears beneath the table name. You can view the existing profile by selecting the table and clicking View Profile.The Select menu (
 ) provides several options to make selecting tables
easier:
) provides several options to make selecting tables
easier:
-
Select All New Tables automatically selects all new tables in the current data source.
-
Select Recent Table enables you to choose from a list of recently used tables. If you select a table from a different data source, the source table information is adjusted accordingly.
-
Deselect All Tables deselects all tables that you have selected in the current data source.
TipTo view sample data from a table, select the table, and then click in the Source Table header to display the SAS Table
Viewer.
Click Next. The Columns task is displayed:
in the Source Table header to display the SAS Table
Viewer.
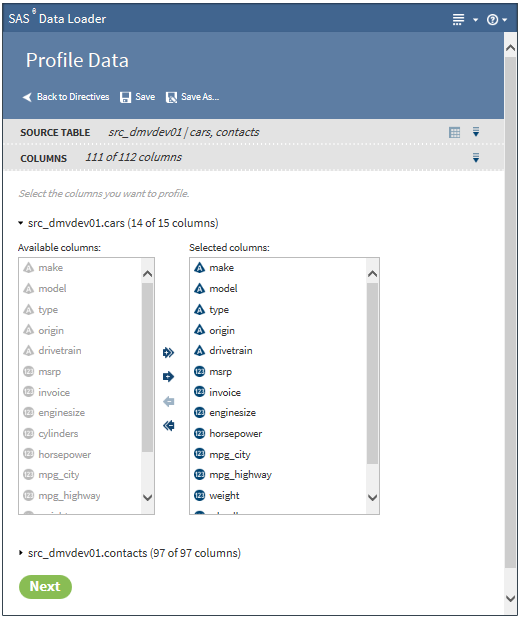
Click Next. The Columns task is displayed: -
-
The column names in the Selected columns pane appear in the report. Select an individual column name and click
 or
or  to move the column name between the Available
columns pane and the Selected columns pane
until the correct list of names appears in the Selected
columns pane. Click
to move the column name between the Available
columns pane and the Selected columns pane
until the correct list of names appears in the Selected
columns pane. Click  or
or  to move all column names at once.
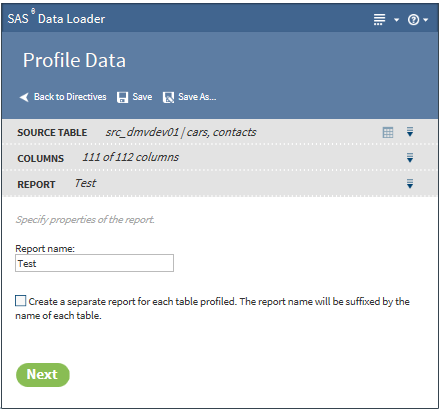
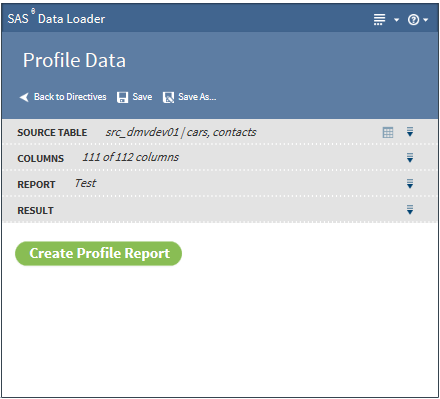
When the column selection is complete, click Next. The Report task is displayed:
to move all column names at once.
When the column selection is complete, click Next. The Report task is displayed: -
Click Create Profile Report. After successfully creating any profile reports, a screen similar to the following is displayed:The following actions are available:View Profile Reportenables you to view the Profile Report. See Saved Profile Reports for more information about the profile report.Logdisplays the SAS log that is generated during the creation of the profile.Codedisplays the SAS code that generates the profile.


Copyright © SAS Institute Inc. All rights reserved.