To create a range,
complete the following steps in the SAS BI Dashboard designer:
-
In the workspace, click

.
-
In the
Create
a Range window, type the name to use for the range component.
-
Click
OK.
A tab using the specified name appears in the workspace.
-
(Optional) In the
Description field,
type a description of the range.
-
For each interval that
you want to add to the range, complete the following steps.
Tip
You can add the intervals
in any order; the software orders the intervals correctly in the table.
-
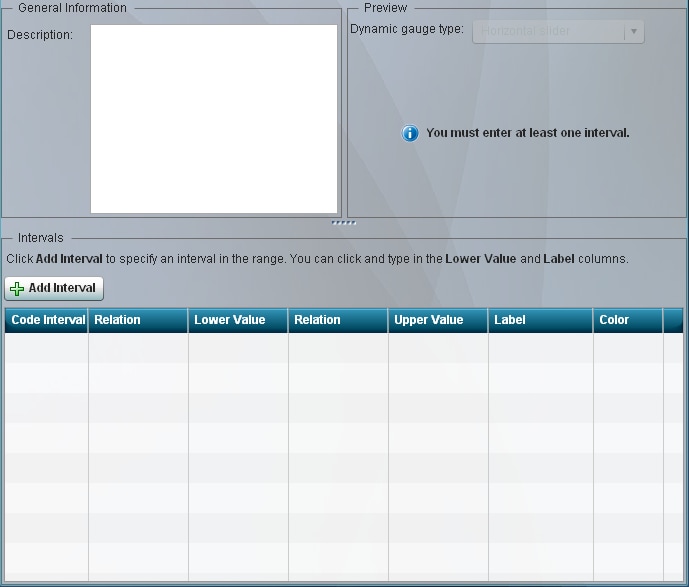
Click
Add
Interval. The
Add Interval window
appears.
-
Type a numeric interval
value in the
Upper bound field and click
OK.
The interval is added to the table of intervals.
Note: Valid input includes a sign,
digits, and a locale-dependent decimal separator.
-
For each interval, complete
the following steps in the table to define the interval:
-
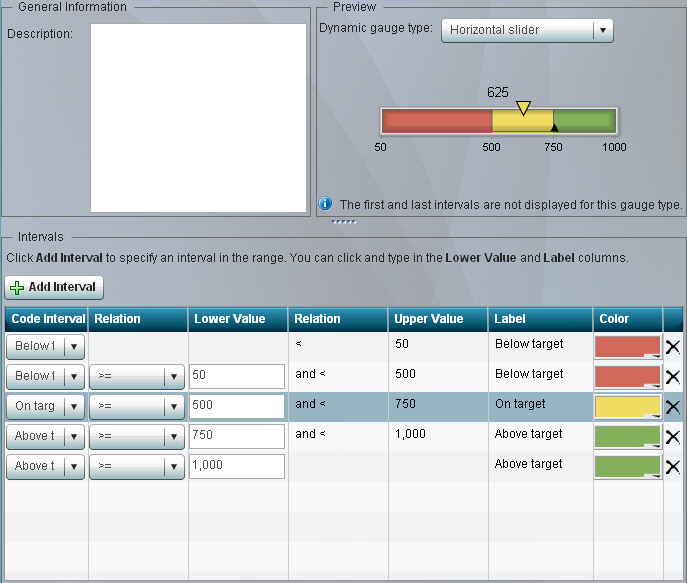
For a static gauge,
in the
Code Interval column, select a code
interval from the list.
Note: The available intervals vary
depending on the gauge.
-
In the
Relation column,
select an operator from the list, and specify a value in the adjacent
Lower
Value column.
-
In the
Label column,
click in the cell and type the label.
-
Click in the
Color column
and select a color from the color palette.
Note: Custom-defined colors ranges
are not used by the following indicators:
-
KPI indicator subtypes that are not dynamic. These are
any subtypes that do not have
dynamic in
their names.
-
any non-dynamic gauge types that appear in a spark table
column.
-
To delete an interval,
click

next to the interval.
-
To preview how the range
will appear, select a gauge type from the
Dynamic gauge
type list.
Tip
The
Preview area
provides an easy way to see how the range appears in different types
of dynamic gauges. However, some gauge types do not show the upper
and lower range segments.
-
Click
File Save
Save.
-
In the
Save
As window, type a name and choose a location, such as
ProductsBI Dashboard 4.3DashboardConfigs.
-
-
In the Library section
of the Objects pane, navigate to the location that you selected in
the
Save As window. The range file is located
in this directory.
Note: The filename uses the name
that you specified. The file extension is .rdx.
-
Close the range tab
in the workspace.
Note: SAS
BI Dashboard administrators can control which users can use the range.
For more information, see the SAS Management Console online Help.