By
default, any generated results use the AMODefault style. However,
you can change the style of the results by using a style that is shipped
with the SAS add-in or by creating your own style. For this example,
you want to apply a custom style to the results.
To create a custom
style:
-
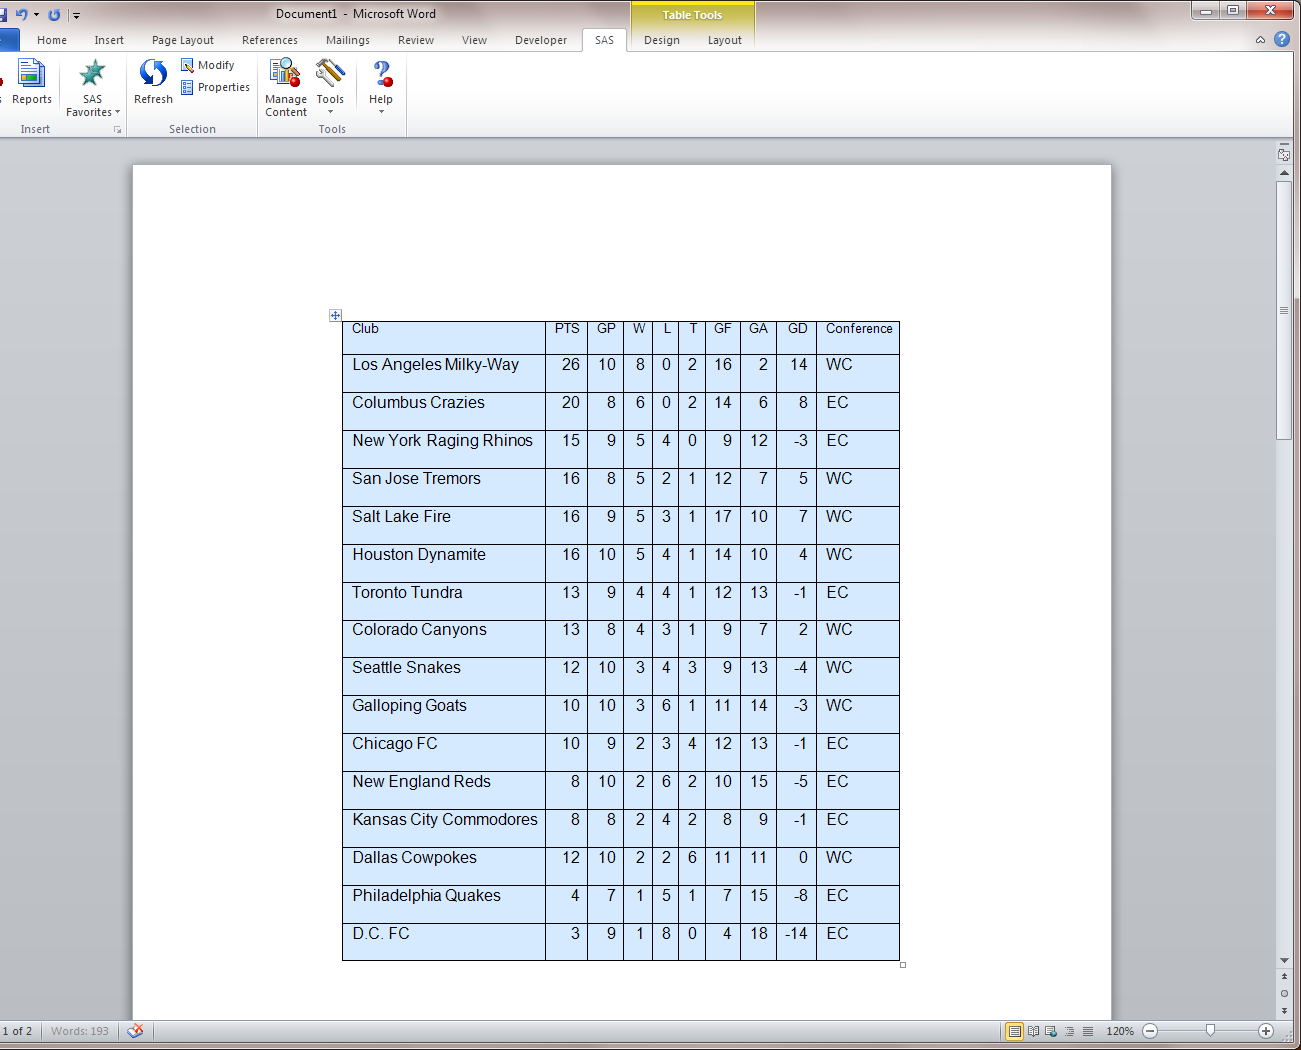
In the document, select
the results from the List Data task, and on the
SAS tab,
click
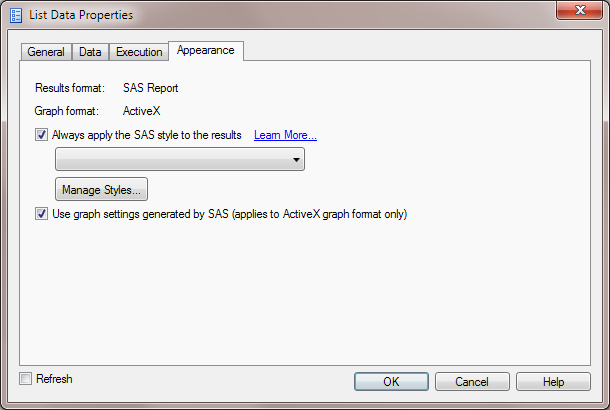
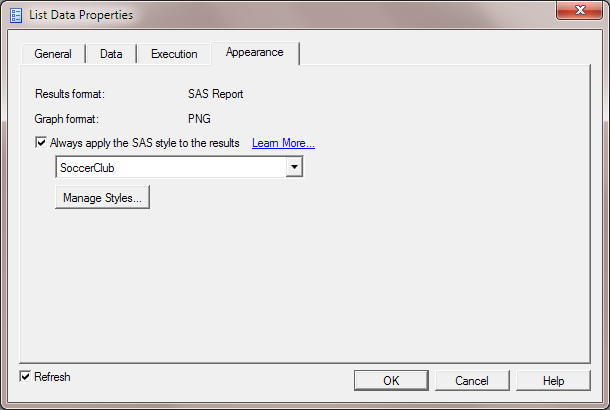
Properties. The
List Data
Properties dialog box appears.
-
In the
List
Data Properties dialog box, click the
Appearance tab.
-
On the
Appearance tab,
select the
Always apply the SAS style to the results check
box.
Click
Manage
Styles. The
Style Manager appears.
-
In the Style Manager,
click
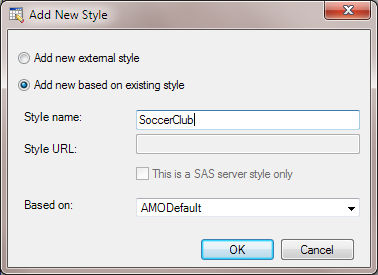
Add. The
Add New Style dialog
box appears.
-
To create a new style
based on an existing style:
-
Select
Add
new based on existing style.
-
Enter
SoccerClub as
the name of the new style.
-
From the
Based
on drop-down menu, select
AMODefault.
-
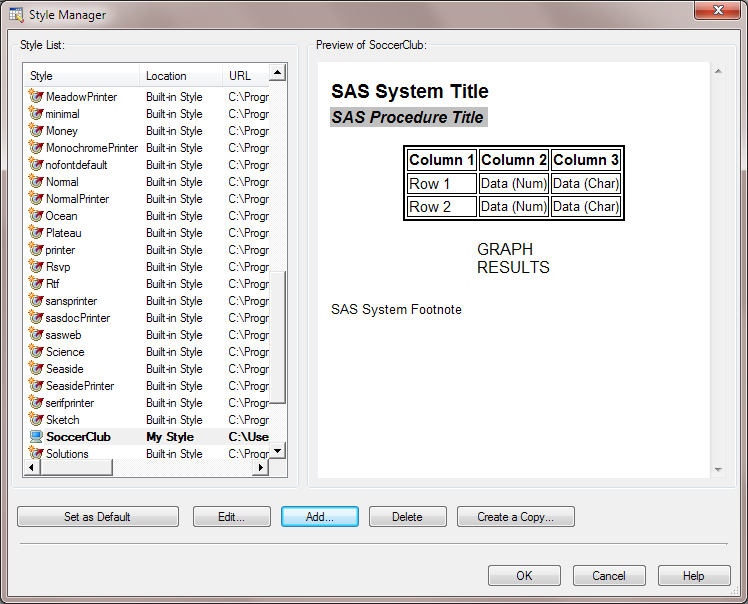
The new SoccerClub style
is now available from the Style Manager.
Currently, the SoccerClub
style is identical to the AMODefault style. To customize the new SoccerClub
style, you must edit it.
-
In the
Style
Manager, select the
SoccerClub style
and click
Edit. The
Style Editor appears.
-
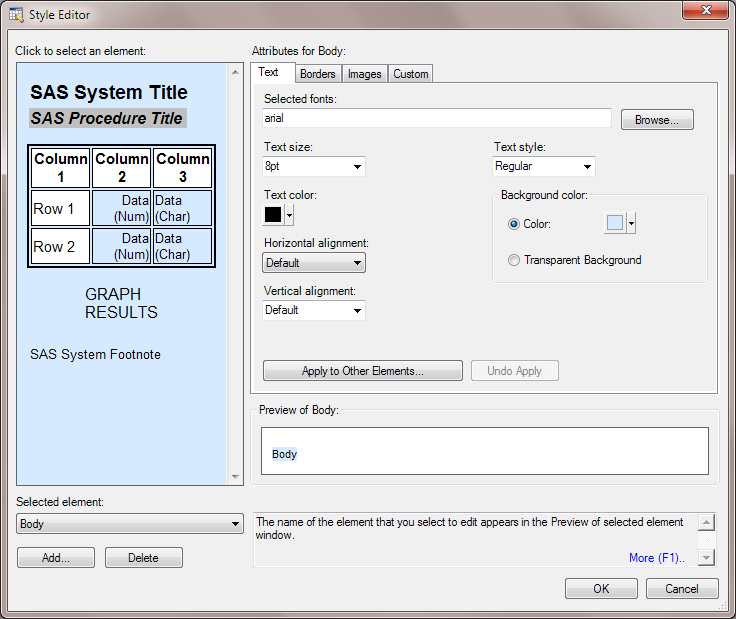
To customize the text
in the body of your results:
-
From the
Selected
element drop-down menu, select
Body.
-
Click the
Text tab
and change the following options:
-
Specify Arial as the font.
-
Set the text size to 8 point font.
-
Change the background color to
a shade of light blue.
-
To apply these text
attributes to the column headings, click
Apply to Other
Elements. The
Apply to Other Elements dialog
box appears. From the list of style elements, select the check box
for
Header.Click
OK to
return to the
Style Editor.
-
To specify the attributes
for the borders in the Style Editor, click the
Borders tab,
and specify the following options:
-
From the
Line Style drop-down
menu, select
Solid.
-
From the
Line Width drop-down
menu, select
Thin.
Click
OK in
the
Style Editor and in the
Style
Manager to return to the
List Data Properties dialog
box.
-
In the
List
Data Properties dialog box, verify that SoccerClub is
the selected style. Select the
Refresh check
box and click
OK.
Because you selected
the
Refresh check box, the content is immediately
refreshed and the style is applied to the results.